The whole processing workflow of DaVinci Resolve can be simply displayed as the following diagram:

The workflow is divided into sections that are processed sequentially. Also, some of the sections are between many clips (they are not clip-specific). Let’s have a look closely at each of them.
Camera RAW
Camera RAW module is the first in the chain as it has to interpret the RAW data before it can be processed further. This module is visible only when working with RAW footage.

Sections
DaVinci Resolve features a few processing sections and each of them consists of a set of nodes. Every section affects the image independently but in a specific order:

This means that we can chain many sections and group some of the corrections to build a sophisticated color processing workflow.
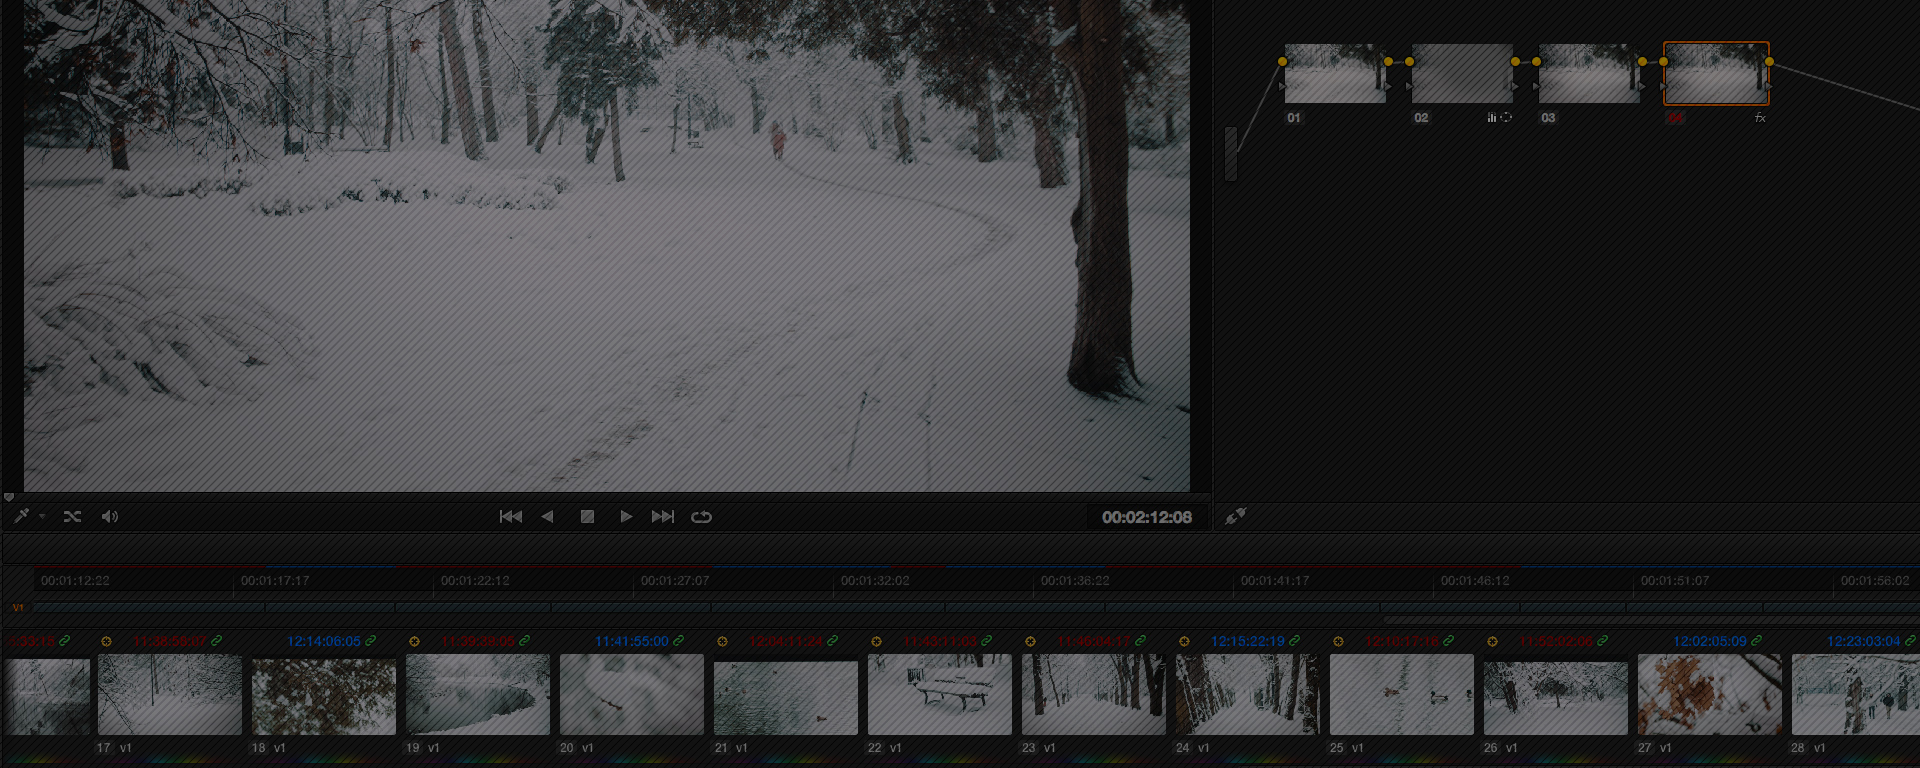
Groups
Groups are very useful as they allow us to create a specific set of nodes to achieve a given correction or look. Then it can be applied to any clip at any time.
With groups, we can create a set of final looks and then quickly change them for all the clips and see how they work.

DaVinci Resolve shows a small indicator above the clip in the small timeline when the clip belongs to a group.
Each group has two separate processing node chains which are applied before and after the main nodes (in the clip section).

Group Pre-Clip & Post-Clip
When a particular clip is assigned to any group then two additional options appear in the top-right popup menu. Group Pre-Clip nodes will be applied before any corrections in the clip section (the main section of every clip).
Post-Clip nodes will be applied after all the corrections made in the clip section.
Note: Caching doesn’t work on the group level so I don’t recommend using heavy processing in the group nodes as they will most likely sacrifice the performance of the playback.
Clip
This section is the default one for every clip in the COLOR tab. The main clip specific corrections and grading should be there.
Caching works for every single node in the Clip section – any OpenFX plugins that slow down the playback time should be used here.
Timeline
The last section available in the popup menu opens a node panel that affects all the clips and it is applied at the very end. If there’s a correction that we want to apply to all the clips in the same way, we can do it here (for example a little bit of sharpening after the correction and grading is done).
I use it to apply a LUT for the initial primary corrections. When I’m done I move a LUT to the group section in case I will be developing more sets of looks to be able to quickly switch between them (also I prefer to put LUT in the beginning of the nodes chain, before all the nodes in the Clip section).