Let’s have a look at the caching mechanism in DaVinci Resolve 12.
There are 4 caching levels in DaVinci Resolve:
- Source caching
- Node caching
- Clip caching
- Sequence caching
The below diagram shows how the processing flows within DaVinci:

To have a full control over the caching process we need to change its mode to User (there’s also smart mode which manages caching automatically; the default one is none though). To enable User Render Cache select the option in the Playback menu:

Now we can trigger any type of caching at any level.
Source Caching
Source cache, as opposed to Output Cache, is rendered before all the color correction adjustments. The only exception is Camera RAW module – any change in there will break the cache.

Source cache can be treated as on the fly proxy generation. Works really well with formats that are heavy and require a lot of CPU/GPU processing. In my case, I use it every time I have RAW footage in my project. After applying Camera RAW settings, I enable Source Cache and the playback is not affected by RAW processing/debayering/etc. – it just plays back the cached ProRes file.
Additionally, caching at the source level scales the video to the timeline resolution. So in case we have some 4K footage in the project, and the timeline is set to 1080p, the footage will be downscaled during the caching process.
Node Caching
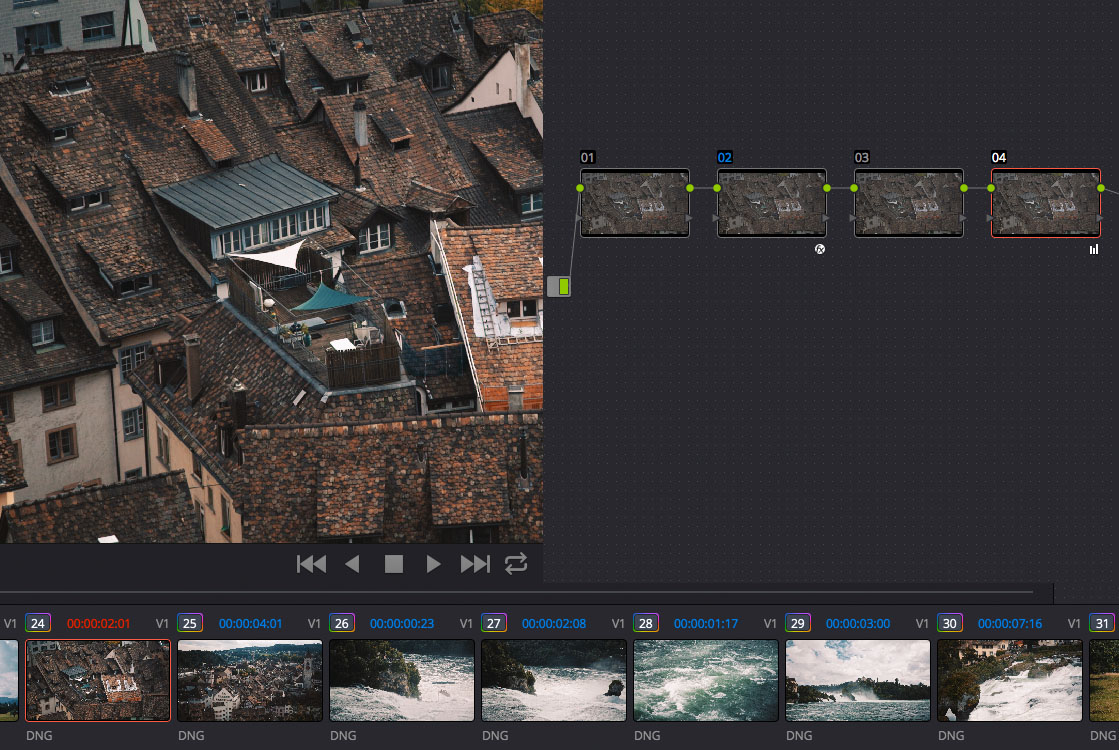
All the changes made within one node can be cached on the node level using Node Cache:

This is the most useful caching type in my opinion and allows to build on top of the cache without breaking it.
Let’s say we apply OpenFX plugin in the first node and then cache the node. After adding serial node after, we can apply all the built-in color corrections, and the cache is still valid. All the changes are applied on top of the rendered ProRes File.
The situation changes when we try to change anything that is before the cached node, and, in this case, the node has to be re-rendered:

Good practice is to use Node Cache for 3rd party OpenFX plugins as they usually take a lot of CPU/GPU time and the real-time playback is most likely lost after applying them.
Clip Caching
Clip cache is the last caching point in the processing chain, and it happens just before the frame is sent to playback.
Clip cache is designed to improve the editing within Resolve for playback and trimming in the Edit page.

The only problem with Output Cache is that it gets broken always when there’s any correction made to the clip.

The above picture shows that the render cache is not valid anymore and has to be re-rendered (red color). Fortunately, there are other types of caching allowing us to build on top of them without the need of re-rendering each time we apply any color correction.
Sequence Caching
According to the Resolve’s manual there’s no way to trigger Sequence Cache in User mode. It works only in Smart mode and renders clips in the timeline that use composite modes other than Normal and any clips with opacity or speed effects.
Broken Cache
Cache is broken as soon as the change is made before the caching point. This means that:
- Output Cache is rendered after all the color corrections, node plugins, etc. so it has to be re-rendered whenever a change is made to the clip.
- Node Cache is broken whenever a change is made before this node. Adding a serial node after doesn’t affect it and the cache is still valid.
- Source Cache works similar to Proxy files, and it has to be re-rendered whenever a source clip has changed, which in most cases will be when we apply any change to the Camera RAW settings of the RAW footage.
Cache Performance
Keep in mind that cache rendering is triggered whenever it is needed after 5 seconds of inactivity – this value can be changed in the project settings – General Options / Enable background caching after X seconds:

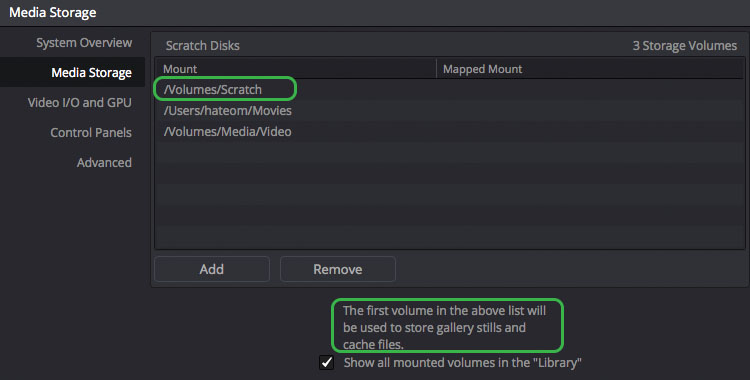
When this occurs, DaVinci is using your scratch disk as an output drive. To specify the scratch disk for the render cache go to the settings and put your drive at the top of the list:

To improve the performance, use different disk than your OS drive, and the faster the disk, the better (SSD drive is recommended).
Cleanup
In case you want to free up some space on your scratch disks, there is an option to delete all Render Cache, or just the cache files that are not used in the current timeline (Unused).
Both options are available in the Playback menu at the very bottom:

Summary
Caching is really well implemented in DaVinci Resolve and it is flexible enough to use it in various scenarios. It allows smooth editing and color correction without using Proxy files (especially for RAW footage). OpenFX plugins are rarely accelerated by the GPU but thanks to Node Caching we can forget about them and still achieve realtime playback.
I am a big fan of caching within DaVinci Resolve and use it extensively since I’ve learned how to use this feature properly.
More performance boost options
According to the manual various performance improvement options can be mixed together – proxies, optimized media and caching:
Using Proxies, Optimized Media, and Caching Together
How you use DaVinci Resolve’s various performance-enhancing features together is entirely up to you, but you should know that they’re not an either/or proposition. For example, you can create optimized media from the camera raw original clips in your project, then enable Proxy playback to enhance the performance of your 4K timeline, and turn on Smart Cache to speed up your work in the Color page as you add noise reduction and Open FX to every clip. All three of these optimization methods work happily and seamlessly together to improve your performance while keeping the image quality of your project as high as the Optimized and Cache formats you’ve selected in the General Options panel of the Project Settings.
Resources
DaVinci Resolve is completely free piece of software and can be downloaded from the BlackMagic website here: